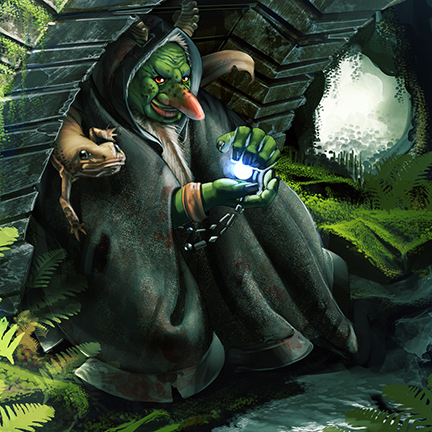
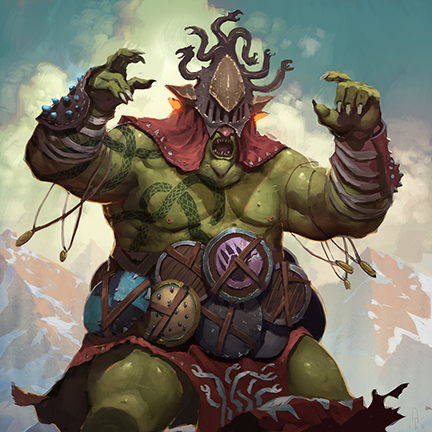
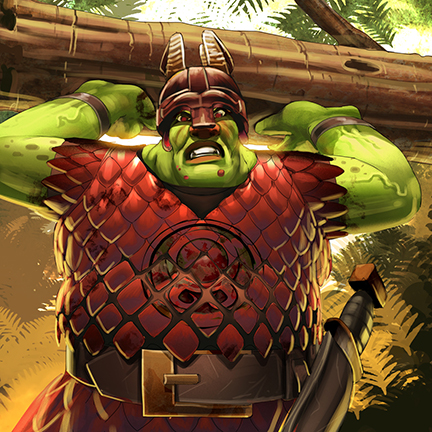
Grim towers of muscle and bone power through the tangle. No sound heralds their approach. No trace betrays their passing.
This land is under your protection.
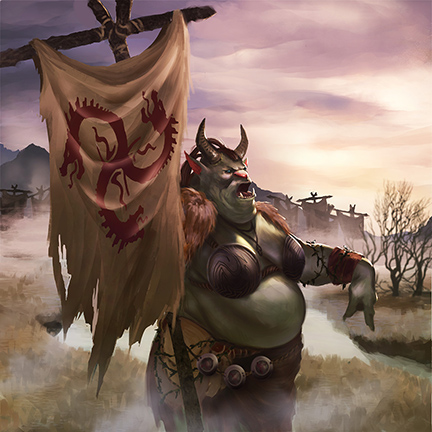
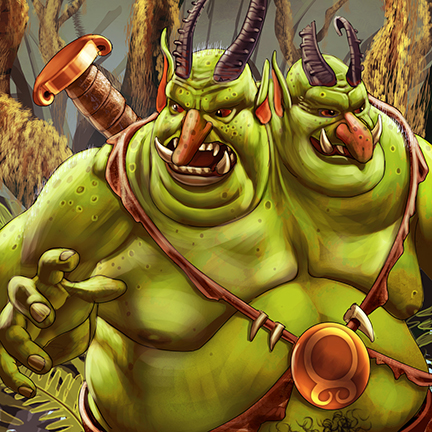
Troll Basics
The Trolls are a mystical race of both powerful warriors and unique spellcasters, affording them great stalling power and peerless utility. If you dream of being the hero that saves everyone else’s bacon, the Trolls are the race for you. Let’s have a look at their defining characteristics.
- Stone Bones: Most Troll units and heroes have fantastic Strength-to-Gold ratios, making them exceptional melee combatants.
- Zero to Ninety: Praetorian said it best: Trolls are really slow, except when they’re really fast. Planning is key.
- Mystic Expenditures: The Trolls have several extremely powerful spellcasters, but they are consequently very reliant on Mana sources. If the Mana Pools on the map get blighted quickly, you may need to beg some Mana from your faster allies until you can reach the frontlines to generate some Valour.
- Enduring Arcana: The Trolls’ most powerful spells have extreme range and long durations. Proper use offers tremendous value, but mistakes can handicap your entire game.
Bread and Butter
First off, let’s look at the core of the Troll army. These are the real Troll Essentials, no matter what the deckbuilder says. I do not recommend picking up the Trolls in multiplayer until you have each of these cards in your collection.
Core Units
Tangle Mage

More than any other, this is the unit that defines the Troll playstyle. Their ability has the second highest unstacked mana cost in the game behind the High Elf, which should make even the most sluggish commanders wake up and pay attention. For 18 Mana, a Tangle Mage can teleport an entire army up to ten leagues away—undisputably the fastest possible movement in the game. He can only teleport to Mana Pools, but even Blighted pools are targetable, so his usefulness never diminishes. Make sure to pair him with a Hydra Gonfalon to maximize your options down the road.
You start the game with enough Mana to use Teleport once before the game even begins. If you’re lucky, you can claim a Mana Pool that’s about to pay out, and maybe even recoup the cost of teleportation in the protection reward. Be careful, though: with great power comes the potential for ruinous mistakes. Don’t strand critical units on the wrong side of the map.
Unlike most other races’ utility heroes, he’s even got a respectable strength score, and he’s cheap enough to throw away if you’re desperate for an extra hour.
The vast majority of Troll strategy relies on this one unit. Besides the mobility, he also provides early access to much-needed Mana Pools. Embrace the Tangle.
- Cost: 125 Gold
- Total Strength: 72
- Speed: 6 Hours/League by Road
- Ability: Teleport: Instantly transport the Tangle Mage and everything else in his army to any Mana Pool within ten leagues.
- Strength Per Gold: 0.58
- Type: Troll Mage
Bridge Witch
If the Tangle Mage defines the Troll playstyle, then the Bridge Witch is the card that convinces your neighbors that yes, you really do deserve this Mana Pool as well. She’s the Trolls’ only form of compulsion, but it’s by far the strongest compulsion effect in the game.
For eight Mana, the Bridge Witch forces every Immortal within three leagues to chase her for an entire day. Without support, this would usually be a death sentence for a weak, slow Troll. However, with a Tangle Mage or two beside her, the Bridge Witch can safely pull huge numbers of enemies away from critical locations, and then teleport to safety. This requires some finesse, since the compulsion lasts for so long.
The way it works is that when you activate Strange Siren, all affected enemies will immediately begin moving toward the Witch. After that, they’ll re-evaluate where she is every time they reach a waypoint, possibly changing direction if you’ve, for instance, teleported behind them in the meantime. This effect lasts a long time. Be careful not to pull strong enemies through undefended towns!
Bouncing around behind enemy lines is a great way to occupy giant hordes of zombies for as long as your Mana holds out. As long as you’re careful to save your allies’ cities, you should be safe begging for Mana if you’re having trouble making ends meet.
- Cost: 125 Gold
- Total Strength: 36
- Speed: 6 Hours/League by Road
- Ability: Strange Siren: All Immortals within three leagues must follow the Bridge Witch for one day.
- Strength Per Gold: 0.29
- Type: Troll Mage
Hydra Gonfalon
Every race has a “Banner” unit, allowing other units to be deployed in the field. However, for no race is the banner as important as it is for the Trolls. The Tangle Mage allows your otherwise velocity-challenged armies to get very far from home, so field deployments are absolutely vital. You can basically never have too many of these in your deck.
- Cost: 150 Gold
- Total Strength: 180
- Speed: 6 Hours/League by Road
- Ability: Hydra Gonfalon: You may deploy Trolls at the Hydra Gonfalon.
- Strength Per Gold: 1.2
- Type: Troll Warrior
25 Trollish Spears
No matter what strategy you’re pursuing, you’re going to be training at least a few rounds of Trollish Spears to defend your home towns. As cheap melee combatants, there’s just no substitute.
- They provide a ton of strength for the gold, second only to Dwarven Hammers in this regard.
- There’s no (or limited) opportunity cost for training your civilians, thanks to the Serpent Charmer.
- Trollish Spears are your cheapest source of military population, to take advantage of fortifications and generals.
You will usually want several sets of these in your deck (unless you’re using Turtle Warriors). Not because you might want to drop them at settlements for instant power, though you might, but because you’ll need to be able to drop them at the Hydra Gonfalons. When your armies march this slowly, you can’t be waiting for new units to walk from your home base.
- Cost: 150 Gold
- Total Strength: 450
- Speed: 6 Hours/League by Road
- Strength Per Gold: 3.0
- Type: Troll Warrior
Spirit of Spellcasting
With Tangle Mages and Bridge Witches eating up so much early Mana, it’s hard to see a place for other spellcasters to fit into the Trollish entourage. But sure enough, there are several more Mana-hungry Mages at your disposal, and they’re all worth using in the right circumstances.
Shamans and Snakes
Serpent Charmer
The Serpent Charmer is almost a core unit for the Trolls, but you really can get along without them. Your economy will suffer a little, but hopefully once you’ve saved a Goblin ally once or twice, they’ll see the wisdom in funneling their money into your coffers.
Once you have Serpent Charmers, though, you can make your own money at a rate even the Goblins have to admire. For eight Mana, each settlement (no matter whose it is) within two leagues hands over 50 Gold (presumably in the hopes that you’ll take the snakes away, please). Mana Pools, monster camps, and Blighted/empty settlements don’t count. Usually, you’re shooting for a spot with 7-8 settlements in range, so you’re making 350-400 Gold per day with each Charmer.
Using the Serpent Charmer does add six hours to each affected settlement’s production timer, so as with all Troll units, there’s some finesse required. Charming neutral settlements is pretty much always worthwhile—you can even use this ability to push back the timer on a settlement you want to claim, if you’d otherwise be a little too late for payday. If you’re thinking about setting up a snake camp near some allied towns, make sure to ask permission first since they’re not harvesting the benefits.
However, for settlements you own (or will claim shortly), there’s a simple rule: if the town produces 200 Gold/day or less, Charm it. Otherwise, try to find a different location. The logic here is that a 6h delay is 25% of a town’s average productivity. Since you’re harvesting 50 Gold no matter what, it’s worth the production delay as long as that 50 Gold is at least 25% of the town’s output. You may have noticed that Troll towns always produce less than 200 Gold per day, meaning it’s totally fine to Charm the heck out of them and never let them produce their own Gold at all.
- Cost: 125 Gold
- Total Strength: 36
- Speed: 6 Hours/League by Road
- Ability: Bountiful Harvest: Gain 50 Gold for each unblighted settlement within two leagues. Affected settlement production timers +6h.
- Strength Per Gold: 0.29
- Type: Troll Mage
Kahuna
Almost as iconic as the Tangle Mage for his rare and highly visible effect, the Kahuna lets a Troll player train units at monster camps without paying the gold cost. You can even train units at settlements you don’t own, which can be extremely useful for defense.
The reason these sometimes don’t see play is that by far the best place to use them is at Dragon Lairs, and unless there’s a Mana Pool nearby, reaching them can be a real slog. Hydra Pools are good on certain maps, but they’re not often worth early investment. The exception of course is if a neutral Hydra Pool is standing in the path of a large army. If your Kahuna can reach it in time to summon a couple more defenders, then stick around for the battle, you’ll still earn all the Valour, even though the neutral Hydras were doing all the work.
- Cost: 125 Gold
- Total Strength: 90
- Speed: 6 Hours/League by Road
- Ability: Summon Behemoth: Train a monster from a monster camp without paying the normal Gold price.
- Strength Per Gold: 0.72
- Type: Troll Mage
The Crone

The Crone offers yet another ability unique to the Trolls: the power to dispel magic. She even dispels terrain bonuses and boss effects, making her the most powerful answer in the land to the question “how are we going to kill this enormous Jester King?”
As a small price for all this power, there are a couple of catches.
- The card says “buffs” but what it really means is “all effects”. That means in addition to dispelling Boss buffs and terrain bonuses, she also dispels compulsions and other debuffs. Be careful not to dispel something critical, like a Bridge Witch’s siren.
- The Crone’s effect is a one-time dispel. If an effect gets reapplied afterwards, it’ll stick around. Keep this in mind especially when dispelling terrain bonuses: use the Crone to dispel the bonus when the enemy is already in the tile where you’ll be fighting them. If they move to a new tile where they would get a bonus, that bonus will reappear.
- Cost: 125 Gold
- Total Strength: 72
- Speed: 6 Hours/League by Road
- Ability: Gnostic Muttering: Remove all effects from target Immortal within one league.
- Strength Per Gold: 0.58
- Type: Troll Mage
Rune Dancer
Finally: here’s a unit that’s cheap, tough, and easy to use. For only four Mana, the Rune Dancer inflicts a powerful attack on any Immortals within a League. The strength of his boogie shoes scales with the number of dancers, so while he’s not great against Immortal Trolls (killing about 20% of any given stack), he is hilariously effective against Goblin or Human zombies. Did I mention he can drum up that funky beat twice a day?
He comes in most Essentials decks and you’ll usually want several more, as he’s one of the game’s absolute best Valour generators.
- Cost: 150 Gold
- Total Strength: 180
- Speed: 6 Hours/League by Road
- Ability: Marsh Stomp: All Immortals within one league suffer a ranged attack with strength equal to 6 times the target unit’s population.
- Strength Per Gold: 1.2
- Type: Troll Mage
Spirit of Violence
From time to time, your Mana will eventually run dry. These times can be tough, but if you’re prepared, you’ll still have plenty to do with your armies. These are the cards you’ll be using to do the dirty work of actually stomping out the Blight.
Heavy Hitters
Marsh Prince
First and most importantly is this guy. He’s expensive for a Troll, but the strength he offers is absolutely nuts. Troll Royalty isn’t a title easily won, and he’s got both the strength and utility to prove it.
- His strength efficiency is better than a Hydra.
- He’s a Lurker, meaning you can drop a fistful of them on a single town or Gonfalon.
- After combat, you can use the Valour he generated to buy some Mana, then use that Mana to return the Prince to your Deck for a full Gold refund.
These three traits make the Marsh Prince a blindingly fast late-game unit. Once most of your other cards are in play, you can realistically deploy a litter of Princes to every single battle.
- Cost: 225 Gold
- Total Strength: 540
- Speed: 6 Hours/League by Road
- Ability: Lurking Fury: Return the Marsh Prince from play to your deck. Gain his cost in Gold.
- Strength Per Gold: 2.4
- Type: Troll Royalty (Lurker)
20 Turtle Warriors
These ladies have only half the strength efficiency of your basic Spears, but don’t let that fool you. You’re paying a premium for armor made from the Sacred Purple Dragon Turtle, and it really pays off. You’ll still want some Trollish Spears in the early game, but as soon as you can switch over to Turtles, the better off you’ll be. Turtle Warriors last much longer and are more deployable in the lategame due to there being only twenty of them rather than 25 (most Troll settlements have 50 population, so if even one hero gets deployed there, they can only support one unit of Spears. Due to the Trolls’ increased reliance on Gonfalon deployments, this matters quite a bit).
Math Digression
Let’s compare the value of Turtles to that of Spears. The math is a little complicated, but let’s say you’ve got one set of each unit. Let each unit fight the same set of zombies in order, where the enemy’s strength is equal to half the strength of the weaker unit. For example, the first battle will be against an enemy with 180 strength, half of the Turtles’ starting strength of 360. The table below also takes into account combat experience after each battle, since that’s an important part of any unit’s utility over time.
| Round | Enemy Strength | Spears Remaining | Turtles Remaining | Spear Strength/Gold | Turtle Strength/Gold |
| 0 | 0 | 25 | 20 | 3.00 | 1.60 |
| 1 | 180 | 21 | 17 | 2.66 | 1.44 |
| 2 | 162 | 18 | 15 | 2.40 | 1.33 |
| 3 | 150 | 15 | 13 | 2.10 | 1.21 |
| 4 | 136 | 12 | 12 | 1.76 | 1.17 |
| 5 | 132 | 9 | 11 | 1.38 | 1.12 |
| 6 | 104 | 7 | 10 | 1.12 | 1.07 |
| 7 | 84 | 5 | 9 | 0.83 | 1.00 |
Obviously this is a very contrived example, but you see the difference that saving throw makes. After four combats, the same number of Turtles and Spears have survived, and after seven, the Turtle value begins to outpace the Spear value. The difference is even more striking when the combats aren’t as one-sided. The table below shows what happens in a series of close fights, when the zombie strength is 90% of the lower mortal strength:
| Round | Enemy Strength | Spears Remaining | Turtles Remaining | Spear Strength/Gold | Turtle Strength/Gold |
| 0 | 0 | 25 | 20 | 3.00 | 1.60 |
| 1 | 324 | 12 | 12 | 1.52 | 1.01 |
| 2 | 205 | 2 | 7 | 0.27 | 0.62 |
| 3 | 36 | 0 | 7 | 0.00 | 0.62 |
- Cost: 225 Gold
- Total Strength: 360
- Speed: 6 Hours/League by Road
- Ability: Turtle Shell Armour: Bonus 50% saving throw in combat.
- Strength Per Gold: 1.6
- Type: Troll Warrior
Brute
Trolls have a bit of a tough time coming up with enough population to bolster, but once you’ve got a decent army put together the Brute is what pushes them over the top from “strong” to “untouchable”. He’s on the expensive side, but he’s got a respectable strength ratio and significantly increases the power of your Turtles and Spears.
- Cost: 175 Gold
- Total Strength: 270
- Speed: 6 Hours/League by Road
- Ability: Troll Strength: All Trolls in his army gain +9 strength.
- Strength Per Gold: 1.54
- Type: Troll Warrior
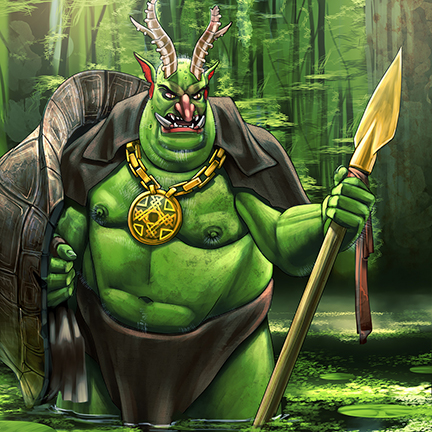
Rare and Specialized Troops
Arguably, almost every Troll unit is a specialist. These, however, are more finicky than most, and most of your decks should include few or none of them.
Specialist Troops
Spike Crafter
It’s pretty rare that I bring Spike Crafters in a deck, though they can be useful in certain maps. The issue is that they’re basically a less-efficient Brute unless you’ve got a good source of off-race defenders nearby. That said, +6 Fortifications are nothing to laugh at, and if you can put a lot of defenders back there, it’s a huge benefit. You can also use his ability in concert with the Marsh Warden to protect your units on Mana Pools and such. Consider bringing this stump artisan when you’re going to be defending lots of other races’ cities.
- Cost: 175 Gold
- Total Strength: 180
- Speed: 6 Hours/League by Road
- Ability: Spiked Palisade: Settlement permanently gains +6 Fortifications.
- Strength Per Gold: 1.03
- Type: Troll Warrior
Hydra Lord
This is a luxury card if ever there was one. Unlike other races’ “better monster” cards, the Hydra Lord offers a very noticeable improvement over its untamed brethren. Besides being stronger and keeping the Hydra’s 2:1 strength-to-gold ratio, the Hydra Lord has a free ability that significantly improves upon its primary use.
The best reason to actually claim a Hydra Pool is when you need to chase down units out in the swamp, especially large stacks of fast and/or nasty units, like a Dread Knight or Lich King. Doing this with normal Troll units is intolerably slow (and then your army still has to walk back), but Hydras are fast and strong enough to get the job done. Where the Hydra Lord shines is in the speed afforded by its free ranged attack—no longer can that Jester King’s dancers or unexpected spawns slow you down. Tough enough to handle Bosses and fast enough to catch almost anything, consider taking a couple Hydra Lords with you if you’re expecting much combat in the deep swamps.
- Cost: 1500 Gold
- Total Strength: 3000
- Speed: 3 Hours/League (Swimming)
- Ability: Hydra Charge: Makes an automatic 600 Strength ranged attack upon encountering an enemy.
- Strength Per Gold: 2.0
- Type: Hydra Warrior
Marsh Warden
Whatever nastiness he’s got in that barrel, the Trollish incarnation of the Storm Friar has a longer reach and more damage, while also limiting his scope to Swamp tiles. This is the cheaper answer to bands of Zombie Goblins desecrating your lands. It’s a strong early play on some maps, as it can generate tons of Valour without murdering your allies’ armies, but you still have to be careful not to fry your own units.
- Cost: 150 Gold
- Total Strength: 180
- Speed: 6 Hours/League by Road
- Ability: Marsh Sting: All unfortified units in Swamp within 4 leagues suffer a ranged attack with strength equal to 5 times the target unit’s population.
- Strength Per Gold: 1.2
- Type: Troll Hunter
Troglodyte
If you can get one to the front lines early, the Troglodyte can very quickly become an unstoppable Goblin-killing machine. They’re rather Mana-hungry, but their power increases exponentially as long as you keep them fed. After eight or ten feedings, one Troglodyte can be strong enough to take on (or devour) even the toughest bosses. The primary concern is keeping a fresh source of food nearby, as they’re slower than the Goblins they chase, and getting them out early enough to be useful. Eight feedings requires four days unless you’ve got help from Gnostic Mages.
Note that Troglodytes can devour living Goblins in a pinch, but it’s not usually a great use of resources. However, they are more nutritious than zombified ones.
- Cost: 125 Gold
- Total Strength: 180
- Speed: 6 Hours/League by Road
- Ability: Tasty Goblins: Range 1 Attack at total melee Strength against a Goblin unit or Boss. Permanently gain +4 Strength for each Goblin eaten this way.
- Strength Per Gold: 1.44
- Type: Troll Warrior
15 Marsh Hunters

While most of the Troll army has significant all-around utility, the Marsh Hunters are almost exclusively a defensive unit. With a whopping 4:1 strength to gold ratio in swamps, they’re great for dropping on frontier towns to hold the line on a budget. However, their value is greatly diminished beyond their home terrain. The essentials deck includes four on most maps, and that’s often plenty as long as you deploy them carefully.
- Cost: 150 Gold
- Total Strength: 300 (or 600)
- Speed: 6 Hours/League by Road
- Strength Per Gold: 2.0 (or 4.0)
- Type: Troll Hunter
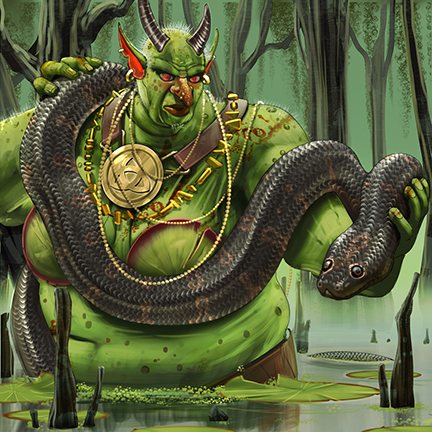
Those Other Guys
Finally, there are a few cards that just don’t often see play, or are so situational that they’re usually limited to single player games.
Unusual Picks
- Ironshell Sergeant: Like the Marsh Hunters, the Sergeant is only valuable in Swamps. However, his buff pales in comparison to theirs, leaving little reason to include him in a deck unless you’re expecting to make heavy use of other races (or simply loads of Trollish Spears) to defend your swamp towns.
- Hydra: You get one for free when claiming their Pool, and you can generate more with the Kahuna, so it’s very unlikely that you’ll ever want the actual Hydra card in your deck. If you’ve got the money to drop on this card, a Hydra Lord is almost always preferable.
Stages of Warfare
The Trolls rely heavily on having the right cards in hand at the right time in order to be effective. As the war progresses, your priorities (and ideally your resources) must shift.
Nightmare difficulty is often a totally different beast, so we’ll tackle that separately.
"Hard" and Easier
Be Everywhere
As with any race, the very early game is all about resource growth and damage control. Your top priorities in the early game look something like this, more-or-less in this order:
- Ideally you start with both a Hydra Gonfalon and a Tangle Mage. If not, you may want to pay some Valour to see if you can draw into them.
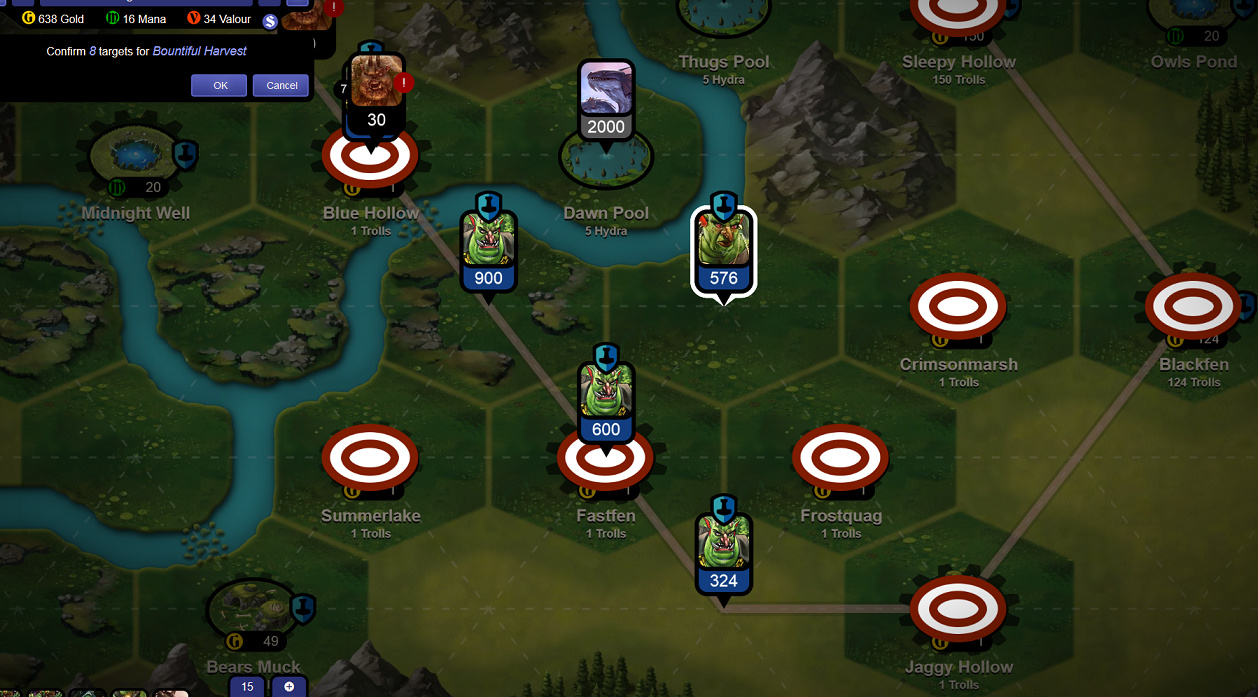
- Claim as many Mana Pools as possible, prioritizing those that pay out the earliest so you recoup the cost of teleporting there. Send a Gonfalon with every Tangle Mage. Besides claiming Mana Pools, your goal is to spread out over the map, so you’ll be able to deploy and react at a moment’s notice at any of these “mobile outposts.”
- On flat terrain with no road, Trolls can move two tiles before the Tangle Mage is able to teleport again. Use this time to split up, claim a couple key locations, then meet up 21h later for the next jump.
- Identify which towns you can reasonably reach in time to defend. Do not leave the roads unless there’s something critical you can protect (unless you get a free Kahuna at a settlement or something). Claim anything you pass through on your way to the front.
- Identify the best spot for your Serpent Charmers and start sending them there. These guys can pick up settlements way out in the swamps that take forever to reach while they’re recharging.
- Develop a plan ASAP to deal with any massive threats, such as a Dread Knight or Lich King.
- Look for Valour-generating opportunities. This might mean large groups headed your way, or big stacks of Goblins that your Tangle Mages can reach. If you can, drop a Rune Dancer at one or two of these locations to get your Valour on.
A last quick note: it is very tempting to sit back from the get-go and wait for the zombies to come to you. After all, your cities have great fortification bonuses, and your troops are so slow. THIS IS A MISTAKE. Immortals scale up faster than mortals do. Rushing to the frontlines to start claiming territory and slowing the advance of the Blight is always a better rule of thumb than turtling up and waiting for the enemy to arrive.
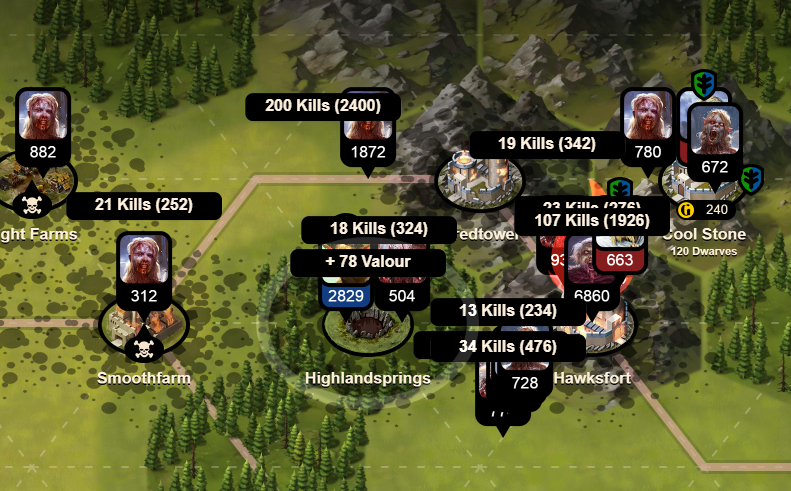
Save Everyone
The midgame is when you’ve finished the first round of damage control. You’ve likely beaten or distracted the first large threat in the area. You’re getting Rune Dancers into place near the largest groups of Zombies, picking up remaining towns, and starting to play out your Witches, Spears, and Princes. Your priorities here are pretty simple:
- Your Serpent Charmers should be capable of pumping out a lot of Gold by now. Trade everything you don’t need for more Mana.
- If you have the Valour for it, send a Kahuna to claim a Hydra Pool or Dragon Lair. This is also a good activity for Marsh Hunters who have already served their purpose, or Serpent Charmers on their way to snakier pastures.
- Your Mobile Hotspots should each be reinforced with a second Tangle Mage, a Bridge Witch, and a Rune Dancer. Use these to blink around the map, keeping the zombies away from monster lairs and underprepared allies. As the zombies swarm around you, remember to do a little Rune Dance to refill your Valour before vanishing to somewhere safe.
- If you’re standing on a unblighted Mana Pool, remember that the zombies won’t change direction to follow you except for when they reach waypoints. If you wait for the enemies to be in range of your Rune Dancer, you’d better be planning to stand and fight or lose the Pool. Once you teleport away, the zombies won’t turn to chase you until they’ve finished their trek to the Mana Pool.
- One army can defend many vulnerable Mana Pools at once. As long as you keep a Gonfalon with each army, you’ll always be ready to drop a fresh Tangle Mage or Bridge Witch as the situation requires.
- Save your Marsh Hunters and Crones in your hand for when you really want them. Use your Marsh Princes liberally any time you need to fight.
- Coordinate with your allies! Your area of influence is massive, so make sure everyone understands your plans and make sure you understand theirs. Don’t waste 26 Mana to tele-siren a boss if the Humans are planning to drop a Houndmaster in two hours.
Come At Me, Zombro
By this point, you’ve likely stabilized but you’re still keeping busy making sure your teleporting Bridge Witches don’t drag two thousand Goblins through any hapless villages. Use your remaining Tangle Mages to combine your armies and prepare for the Ultimate Showdown. Or just throw down a bunch more Rune Dancers and kill everything before it ever reaches your Witches. Priorities:
- Teach remaining large stacks how to Rune Dance.
- Use Hydras to mop up stragglers.
- Have fun.
This guide continues below!
32000 characters isn’t enough…